The TeamConnect Office Suite plug-in incorporates document check-in and check-out in order to prevent files from being edited by more than one user at a time. See Document Management for further information. Note: Local changes will not be automatically reflected in the plug-in. Users must check the document back in for these changes to be stored and reflected in the plug-in.
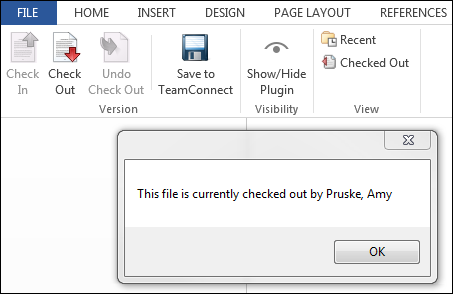
To check out a document, open a document from a Matter folder by double-clicking. Select View and click Edit Document from the drop-down list. Click the now highlighted Check Out icon under the TeamConnect tab. Note: If the file is already checked out by another TeamConnect user, you will be given a notification.

Checked Out Document Notification Screen
After editing the document, click Check In under the TeamConnect tab, or click Undo Check Out to return the document to the Matter folder without changes. Users may be prompted or required to enter a comment upon check-in. See Version Control below for more information.

Document Check In Screen
Documents that are already checked out by another user will still have the Check Out option in the TeamConnect tab. Clicking Check Out will then display a message stating that the document is checked out and listing the user that has checked out the document.
Version Control
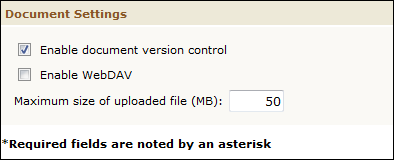
Version control is accessed through the Documents link of the Admin tab.
Checking in a document may prompt versioning comments. Administrators can set whether these comments are optional or mandatory in the Settings tab of Office Integration Settings found under the All dropdown.

Requiring Comments for Document Versioning
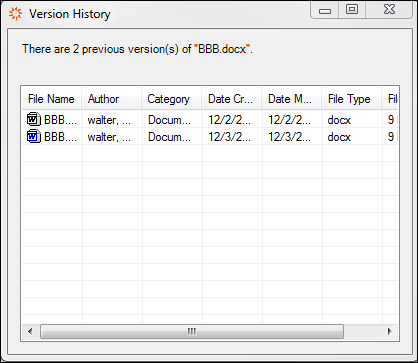
Right-click the document name to bring up the version history.

Document Version History
